##通过一个简单vue项目了解vue整个流程
大神写的一个高仿cnodejs
直接clone
启动服务(http://localhost:8020)
然而我们并不是让你们看如何这个页面如何好看,那没啥用
还是进入code中,才能理解其中的玄学
好的编辑器是成功的一半,所以我选vscode,你呢 哈哈
好了 进入主题 先看项目结构
项目结构
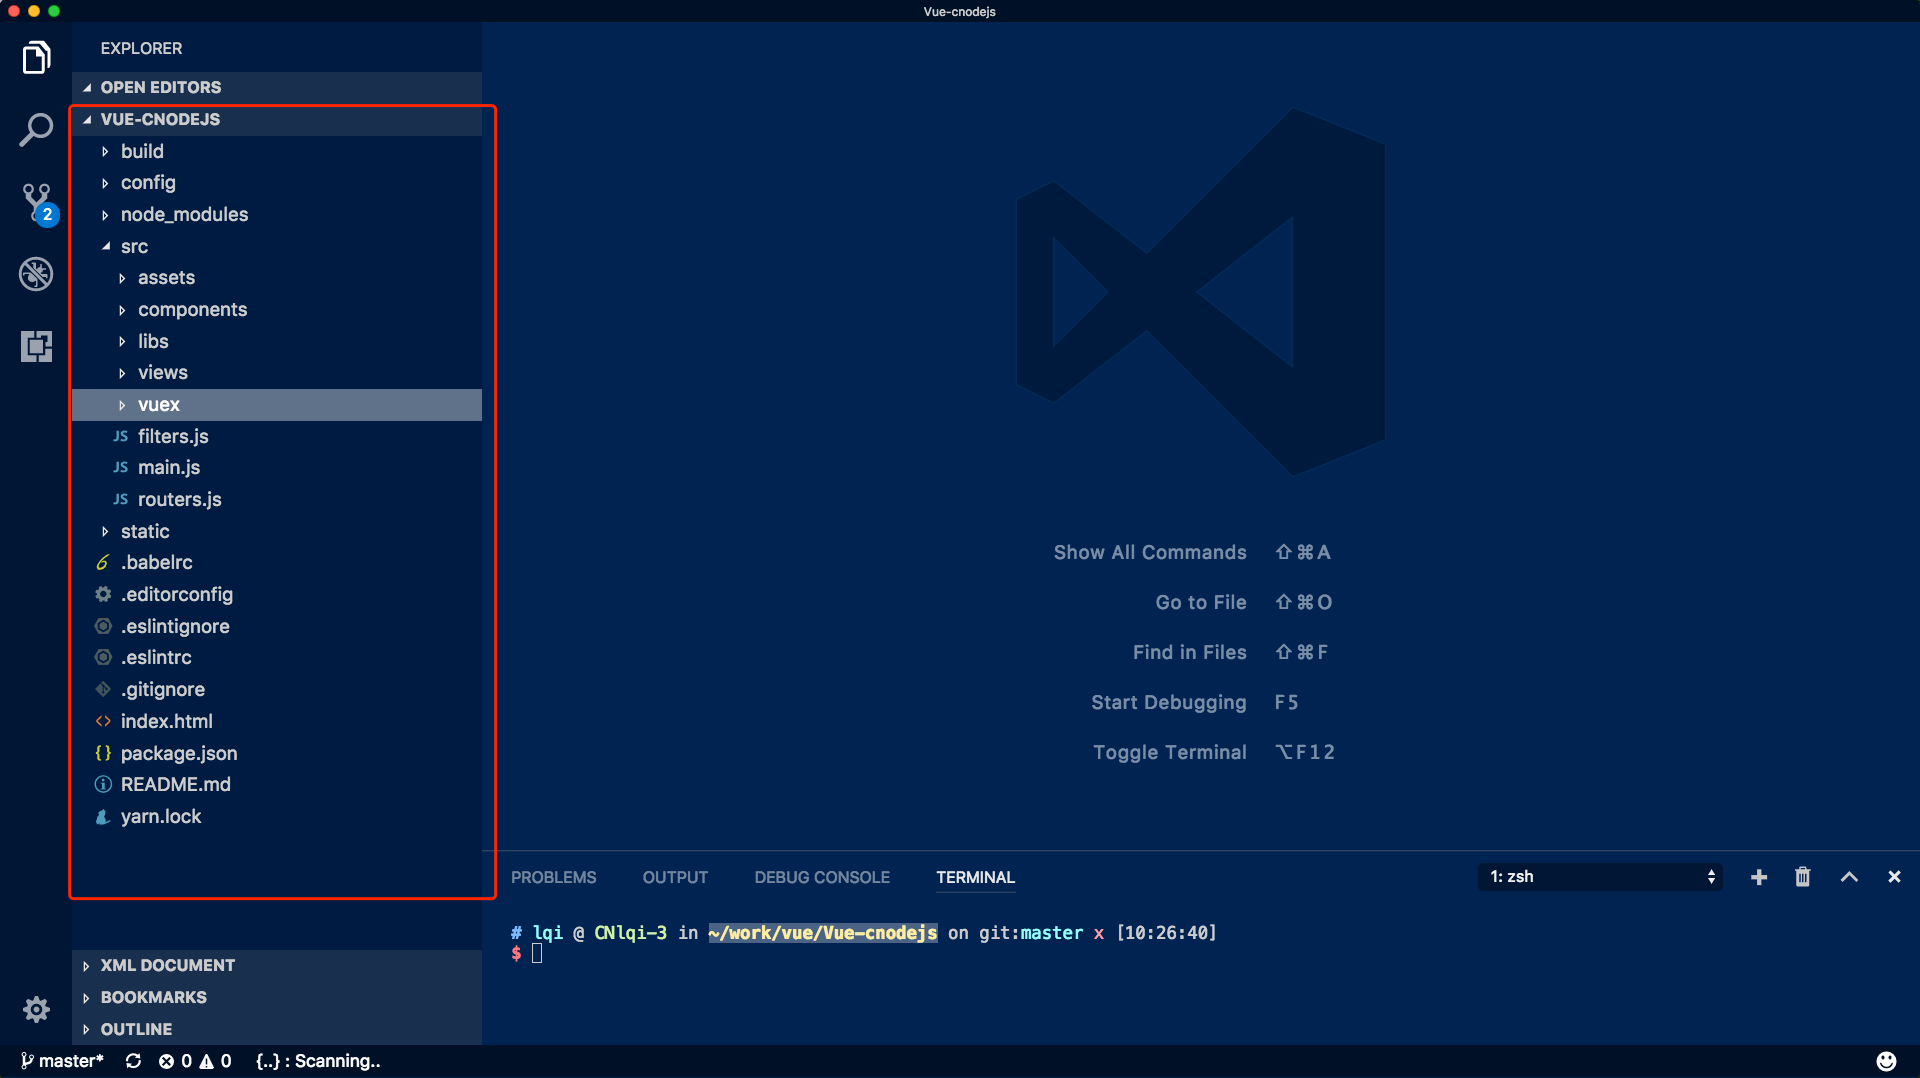
采用 vue2 vue-router2 vuex 组件思想构建了整个项目
先来看看 main.js main文件为整个文件的入口
这就是整个main文件 只是将vuex store 与router 最后都实例化到vue对象中并挂在到id为app的节点下
路由
|
|
上面定义了系统所有的路由路径,以及需要实现懒加载的路由
组件
我们先看看系统由多少组件组合而成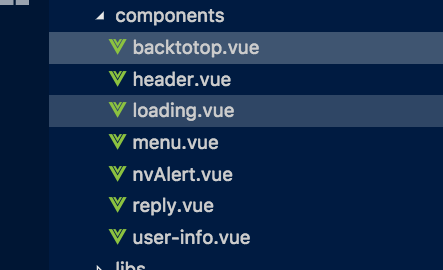
再来看看 views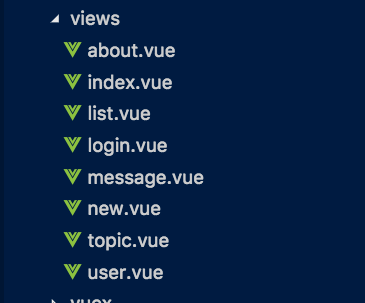
回到我们的router 当我们进入一个应用时,首先呈现在我们眼前的应该是index.
我们看看router的代码
而component 则是来自 index.vue
ok 我们看看 index.vue
index.vue 只是利用mount去向$router push一个{ name: ‘list’}对象
设置了一个异步操作 2秒后 跳转到list页面
在来看看 index.html
他是整个SPA的基础页面
将真个应用会挂载的id 为app 这个节点下。
再来看看index跳转的list页面
利用了2个component nvHEAD nvTop
下一篇 继续讲解 list view